
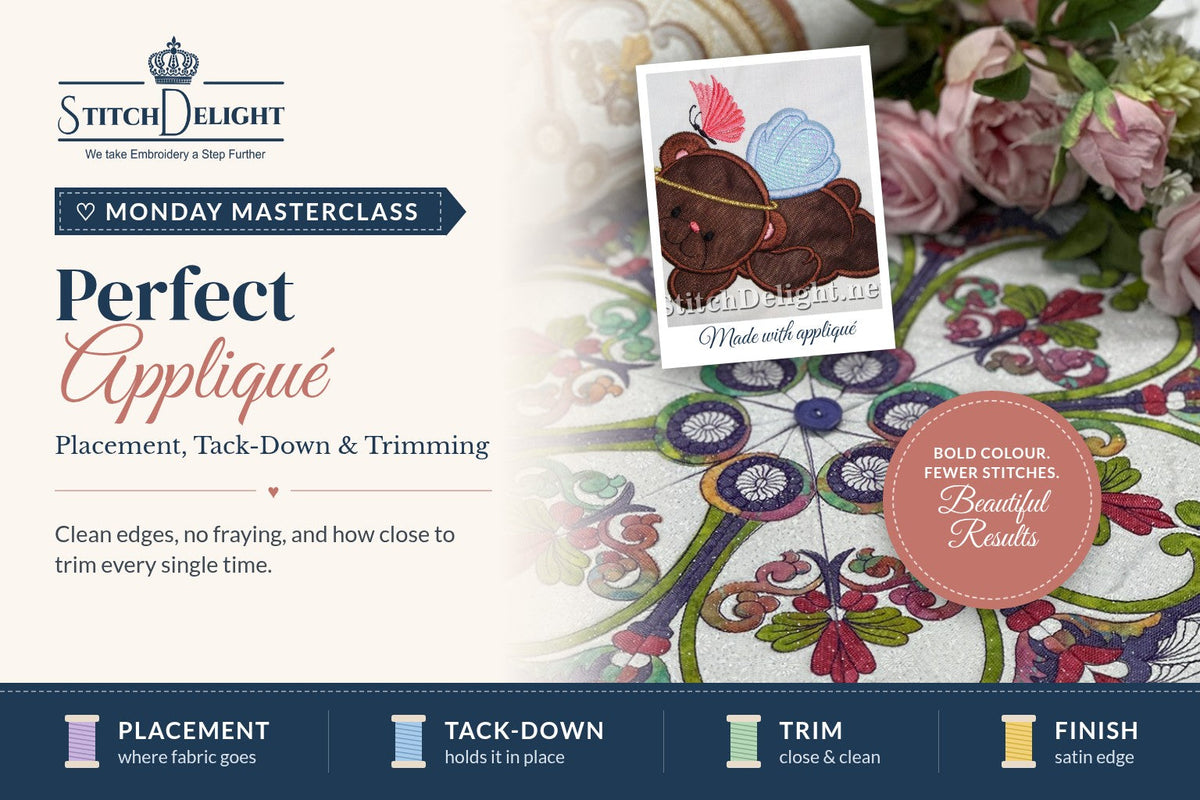
Bold Colour, Soft Texture and Far Fewer Stitches

Appliqué Medallion by Stitch Delight
Why stitch 20,000 stitches to fill a big shape when a beautiful piece of fabric can do the job in a few hundred?
That's the charm of machine appliqué. Instead of filling an area with thread, the machine stitches a piece of fabric in place and finishes the edge. The result is softer, quicker to stitch and full of colour and texture that thread alone can't give you: florals, polka dots, denim, felt, even minky.
Last week we looked at how in-the-hoop projects work. Appliqué uses many of the same steps, but because the fabric is right there on show, the details matter even more. So this week we're slowing down and getting placement, tack-down and trimming just right.
Difficulty: ⭐⭐☆☆☆ Beginner to Intermediate
You'll Learn:
- ✔ The four-step rhythm behind almost every appliqué design
- ✔ Three ways to prepare appliqué fabric, and when to use each
- ✔ How to choose appliqué fabrics that behave
- ✔ Exactly how close to trim (and how to do it safely)
- ✔ The different edge finishes and the look each one gives
- ✔ How to fix the most common appliqué problems
Why Appliqué?
Appliqué isn't just a shortcut. It has some real advantages:
- • Fewer stitches means faster stitching and less thread.
- • Softer results. A large filled area can feel stiff, while appliqué stays soft and drapes nicely. That's why appliqué is such a good choice for garments, as we discussed in my fabric Masterclass.
- • Texture and pattern. Prints, glitter fabrics, corduroy and felt add interest no thread colour can match.
- • Less stress on the fabric. Lower stitch counts mean less pull, which helps on knits and towels.
The Four-Step Rhythm
Almost every appliqué design, simple or complex, follows the same rhythm for each fabric piece:

1. Placement line. A single running stitch shows where the fabric goes. In regular appliqué this is stitched onto your hooped base fabric (a T-shirt, towel or quilt block), not just the stabilizer.
2. Tack-down. You lay the appliqué fabric over the placement line and the machine stitches it in place, often with a double running stitch or a light zigzag.
3. Trim. You trim away the excess fabric close to the tack-down.
4. Cover stitch. The machine finishes the edge, usually with satin stitches, and adds any details on top.
A design with five appliqué pieces will simply repeat this rhythm five times. Your colour chart lists every step, so keep it close by. (If you missed it, here's how to read a colour chart.)
Three Ways to Prepare Your Appliqué Fabric
| Method | How it works | Best for |
|---|---|---|
| Traditional (trim in the hoop) | Lay an oversized piece over the placement line, tack down, then trim in the hoop | Beginners, most designs, any fabric |
| Pre-cut | Cut the exact shape beforehand (by hand from a template, or with a cutting machine) and lay it inside the placement line | Repeat projects, tiny or intricate shapes, sets of gifts |
| Fusible web | Iron a paper-backed fusible web to the back of the fabric first, then use either method above | Fabrics that fray, pieces that must stay perfectly flat |
I use the traditional method most of the time. It's forgiving, and it's the easiest way to get a perfect fit.
Pre-cutting saves a lot of time when you're making ten of the same thing, but it needs accurate cutting. A piece that is even slightly too small will leave a gap that the satin can't cover.
Fusible web (such as Vliesofix, which many of us here in South Africa know well) stops fraying and keeps pieces from bubbling. It does add a little stiffness, so use a lightweight one on garments.
💡 Tip: If your design comes with a cutting file or printable template, use it! Many designers include one specifically for pre-cut appliqué.
Choosing Appliqué Fabrics
Almost any fabric can be appliquéd, but some are much easier than others.
- ✔ Tightly woven cotton is the easiest of all. It trims cleanly and frays very little.
- ✔ Felt doesn't fray, so it's ideal for a bean-stitch edge or for small pieces.
- ✔ Denim, linen and canvas give lovely texture but fray more. Trim carefully, or back them with fusible web.
- ✔ Minky and knits stretch. Back them with a light fusible interfacing so they don't distort during the tack-down.
- ✘ Very thin or pale fabrics over a dark base let the base show through. Back them with white interfacing or use a double layer.

Appliqué Medallion by Stitch Delight
Fabric choice changes everything. The two medallions above are the same design, stitched once in bright jewel tones and once in soft creams and golds.
If the finished item will be washed, pre-wash your appliqué fabrics as well as the base fabric. A cotton appliqué that shrinks on a polyester shirt will pucker after the first wash.
Getting Placement Right
Good appliqué starts the moment the fabric goes down.
- ✔ Cover the placement line generously. At least 1 cm (⅜") beyond the line on every side when you're trimming in the hoop.
- ✔ Smooth, don't stretch. The fabric should lie flat and relaxed. If it's stretched during the tack-down, it will ripple once it's released.
- ✔ Match the grain. Where possible, line up the straight grain of the appliqué with the base fabric so both move the same way.
- ✔ Hold it lightly. A quick mist of temporary spray adhesive on the back of the fabric, or a strip of tape well outside the stitching, stops it shifting.
💡 Safety tip: Never hold appliqué fabric down with your fingers near the needle. If you need to guide a corner, use a long wooden skewer or a stiletto, and keep your hands well clear.
Trimming: The Make-or-Break Step
If I had to choose one step that separates "homemade" from "handmade beautifully", it would be trimming.

The aim is to trim about 1 to 2 mm from the tack-down line. The satin stitch is designed to cover that tiny margin. Trim further away and whiskers peek out. Trim right into the stitches and the edge can fray out from underneath.
How I trim
- ✔ Take the hoop off the machine and lay it flat on the table. Never unhoop the fabric.
- ✔ Use duck-bill appliqué scissors. Slide the wide "bill" under the excess fabric. It lifts the fabric you're cutting and shields the base fabric underneath.
- ✔ Use small curved scissors for tight curves and inside corners.
- ✔ Don't pull. Let the scissors do the work. Tugging on the excess fabric stretches the appliqué and drags the tack-down out of shape.
- ✔ Clear away the clippings. A lint roller or a piece of tape picks up tiny threads before they get stitched under the satin.
Take your time. Trimming a few minutes slower is far quicker than unpicking a satin border!
Choosing an Edge Finish
The cover stitch changes the whole personality of an appliqué. Most designs come with one finish digitized in, but it helps to know what you're choosing when you buy.

Satin is the classic. It completely encloses the raw edge, so it's the most durable choice for items that will be washed often.

Appliqué Teddy Bears by Stitch Delight
Blanket (buttonhole) and E-stitch give a softer, quilt-like look. Because they don't fully cover the edge, choose fabrics that don't fray much, or use fusible web.
Bean stitch is lovely on felt and on décor pieces that won't be washed hard.
Raw edge is meant to fray softly over time, giving a relaxed, rag-quilt charm.
Appliqué on Garments and Towels
Appliqué really comes into its own on clothing and towels, where a big filled design would feel heavy and stiff.

Appliqué Fruit by Stitch Delight
- ✔ On knits and T-shirts, hoop the garment with a cut-away stabilizer so the base can't stretch while the appliqué is tacked down. My stabilizer guide explains why cut-away is the safe choice here.
- ✔ On towels, add a water-soluble topping before the placement line. Without it, the tack-down and satin sink into the loops.
- ✔ On children's clothing, choose a satin edge and pre-washed cotton. It has to survive a lot of washing machines!
- ✔ Inside the garment, trim the stabilizer neatly around the design once you're done, leaving a small margin, and round off the corners so nothing scratches.
Thread Colour for the Cover Stitch
The cover stitch thread can either blend in or stand out, and both are lovely.
A matching thread lets the fabric take centre stage and hides tiny imperfections. A contrasting thread, such as a dark outline around pastel pieces, gives a bold, cartoon-like look but shows every wobble, so your trimming needs to be neat.
Don't forget the bobbin. On towels and anything where the back may be seen, choose a bobbin colour that won't shout through. And remember that metallic thread on a satin edge needs the extra care we talked about in Thread Explained.
Layered Appliqué
Many designs build up several pieces, like a flower with leaves, petals and a centre. The digitizer plans the order so that pieces "behind" are stitched first and the overlapping edges are covered by the pieces on top.
Follow the colour chart exactly, even if it seems odd to stitch a leaf before a petal. And on the lower layers, trim only where the chart tells you to. Sometimes an edge is left untrimmed because the next piece covers it.

Construction Trucks Appliqué by Stitch Delight
With many layers, bulk can build up quickly. Lighter fabrics and fusible web help keep the finished design soft.
Troubleshooting Checklist
- • Whiskers poking out of the satin: trim closer, and clear away clippings before the cover stitch.
- • Fabric fraying out from under the satin: trimmed too close, or a loosely woven fabric. Use fusible web next time.
- • A gap between the satin and the fabric edge: the fabric shifted or was trimmed too far in. Use adhesive, and check my Masterclass on outlines that don't line up.
- • Appliqué bubbles or ripples: the fabric was stretched, or not smoothed flat before the tack-down.
- • Puckering around the appliqué: the base needs more support. See my puckering Masterclass and the stabilizer troubleshooting guide.
- • Dark base showing through: back pale appliqué fabric with white interfacing.
- • Accidentally snipped the base fabric: don't panic. Fuse a small patch of interfacing behind the cut. If it's under the appliqué or satin, no one will ever know.
Three Rules Every Appliqué Stitcher Should Remember
Rule #1 Smooth, don't stretch. Relaxed fabric at the tack-down means flat appliqué at the end.
Rule #2 Trim 1 to 2 mm from the tack-down, with the hoop flat on the table and duck-bill scissors in hand.
Rule #3 Match the edge finish to the fabric and the way the item will be washed.
Final Thoughts
Appliqué is one of the most satisfying techniques in machine embroidery. It's quick, it's soft, and it's the perfect excuse to raid your fabric stash.
Once your placement is smooth and your trimming is neat, every appliqué design opens up for you: names on kids' clothes, cheerful towels and, next week, beautiful in-the-hoop quilt blocks.
Until then... happy stitching!
Designs used in this post
All photos show Stitch Delight designs. Illustrations © Stitch Delight.



2 commentaires
Cathy Root
I really enjoy reading your articles! Thank you.
Karron Baasie
I started embroidering in 1997. I believe your Mother had Dainty Stitches. I have a lot of hers. Now many Stitch Delight. I just found your Master Class I love the information. Your Designs are beautiful,