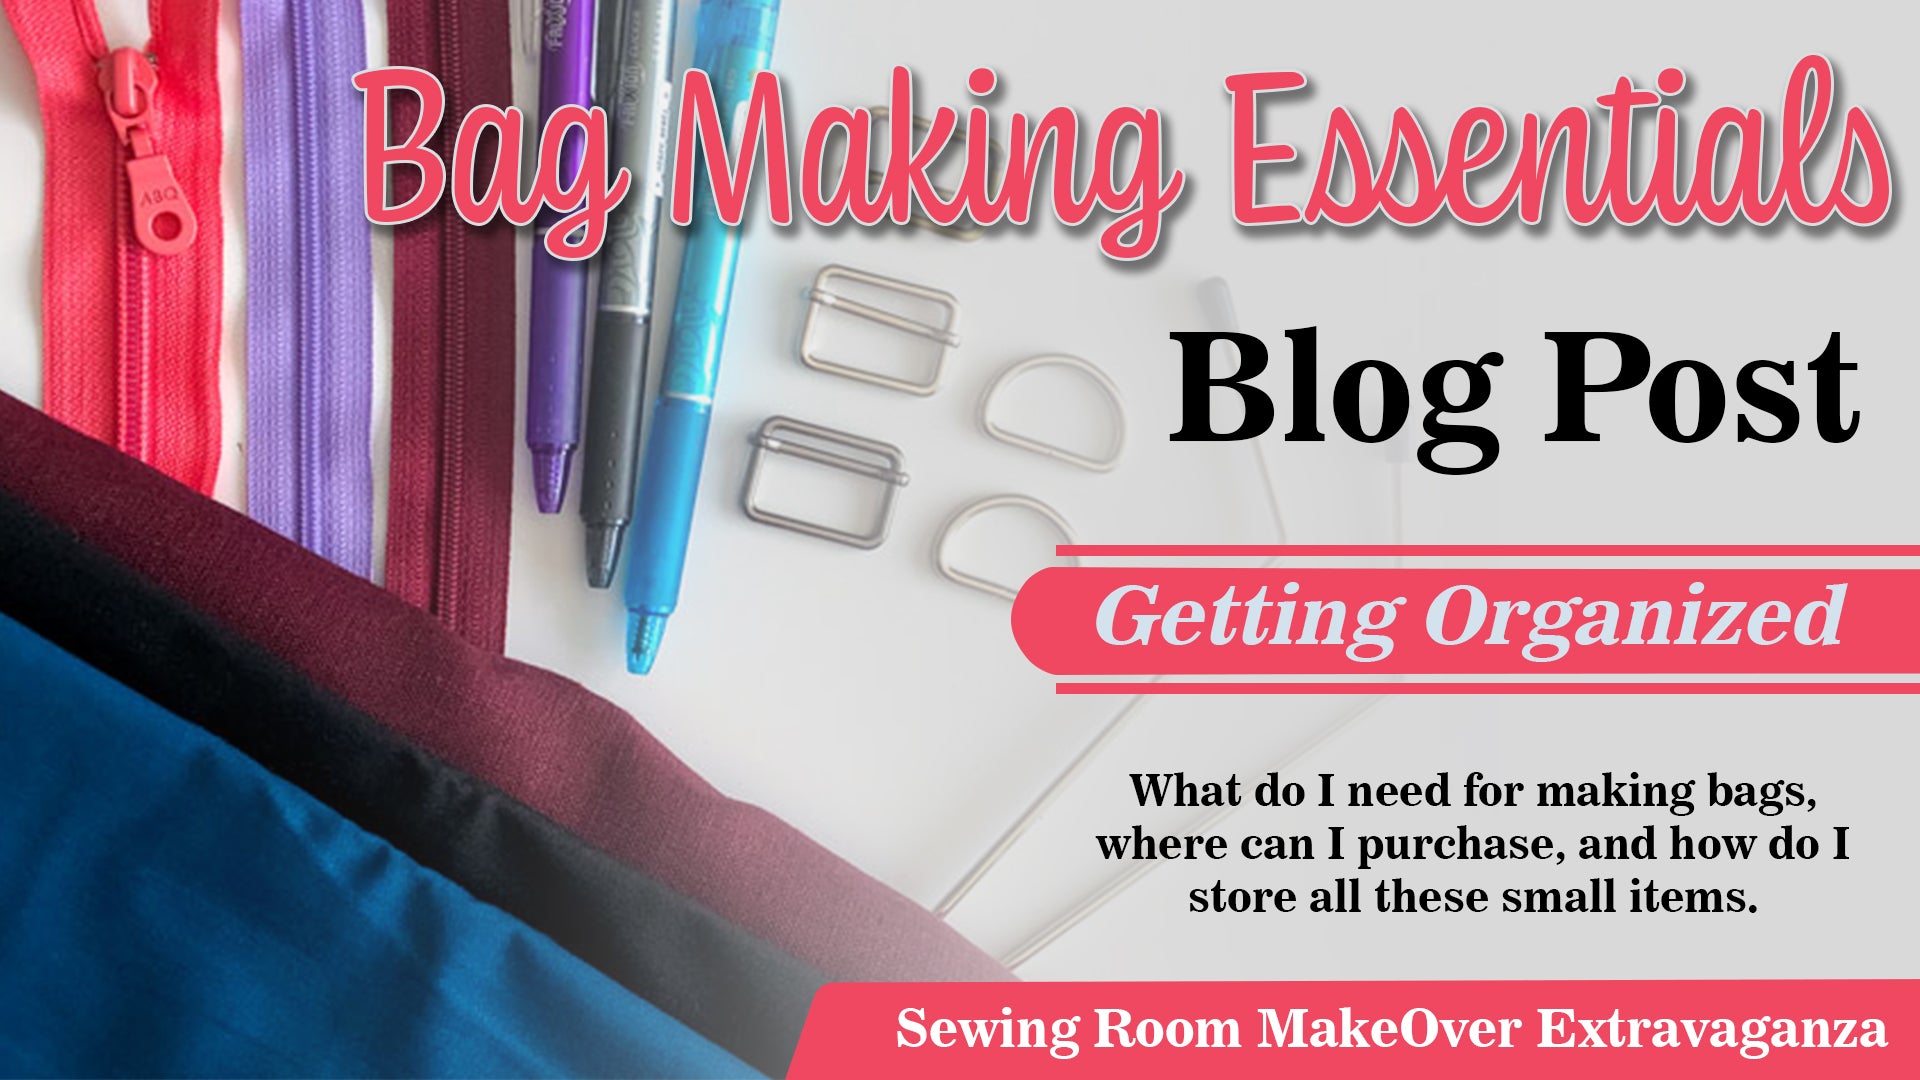
Welcome to the exciting world of bag making on your embroidery machines! Whether you're a seasoned enthusiast or a beginner eager to explore a new creative avenue, this guide will equip you with the essential knowledge to embark on this rewarding journey. We'll delve into the key components required for successful bag making, including the hardware, fabric, and batting options that will help you achieve professional and durable results. Additionally, we'll explore the optimal hoop sizes that offer the perfect canvas for your embroidery designs, ensuring your bags stand out as true works of art. Get ready to unleash your creativity and craft beautiful, personalized bags that will captivate and impress your customers.
Lets first see what one need for making bags. Depending on whether you are making just zipper pencil style case, or perhaps a cosmetic bag, tote bags to more complex purses and handbags, different items will be needed, but lets get a overview on what to keep in stock for most types of bags.
Say you want to make a handbag, lets see what is needed :
-
Fabric: Choose a fabric that suits the style and purpose of your handbag. Common options include cotton, canvas, denim, leather, or faux leather. Consider factors such as durability, weight, and color/pattern.
-
Sewing Machine and Embroidery machine: A reliable sewing machine equipped with the necessary stitches and features will make the construction process easier. Ensure your machine can handle the chosen fabric and has a sturdy motor. If most of the bag is done in the hoop, if not all, you would need a step up from your basic entry level embroidery machines, preferably one that can do at least 5x7 / 6x10 hoop size designs. Read on as we will later in the Blog go into more depth regarding the correct embroidery machine for the job.
-
Thread: Select a thread that matches or complements the fabric. Use a high-quality thread that provides strength and durability, especially if you're planning to carry heavier items in the bag.
-
Scissors: Invest in a good pair of fabric scissors for cutting the fabric accurately. It's advisable to have a separate pair dedicated solely to fabric to maintain their sharpness. Small scissors for detail cutting and larger scissors for cutting fabric like leather and batting.
-
Needles: Depending on the fabric type, you'll need appropriate needles. For example, a universal needle may work for most fabrics, but heavier materials like leather might require a specialized needle. For bags, you can choose a 90/14 needle on your embroidery machine, when working with leather and heavier fabric types.
-
Hardware: This includes elements like zippers, buttons, snaps, clasps, D-rings, buckles, and handles. Choose hardware that complements the bag's design and functionality. Check if they are suitable for sewing or require additional tools like pliers. Later in the blog, I will give you examples and a list of where to purchase.
-
Interfacing: Interfacing adds structure and stability to the bag. Fusible interfacing is commonly used, adhering to the fabric with heat. Select the appropriate weight and type based on your fabric choice and desired stiffness.
-
Batting or Padding: If you want your handbag to have a softer and more cushioned feel, consider adding batting or padding between the fabric layers. It provides shape and extra protection for delicate items.
-
Optional Embellishments: Depending on your design preferences, you may choose to incorporate embellishments like trims, appliques, embroidery, or decorative stitching to enhance the visual appeal of the handbag.
Now lets look the embroidery and sewing machine and what to look for when being used for bag making :
- Hoop Size: Look for an embroidery machine that offers a large enough hoop size to accommodate the bag designs you plan to create. In-the-hoop bag projects often require larger hoops to accommodate the various components, such as bag panels, pockets, and closures. A larger hoop size provides more flexibility and allows you to embroider larger designs with different styles. Small hoop sizes are often limited to just the normal zipper bags, coin bags, eyeglass cases and such.
- Strength and Power: Since bag making involves stitching through multiple layers of fabric, it's essential to choose a machine with sufficient strength and power. Look for a machine with a strong motor and robust construction that can handle the thickness and density of the fabrics used in bag making. This will ensure smooth stitching and prevent the machine from struggling or potentially breaking needles when working with thick layers. Many of your entry level small embroidery machines does not have the force to go through thicker layers of fabric, resulting in breaking needles, skipped stitches and pushing the machine beyond its limits. Embroidery machines originally were not designed to do what we do with them today, with multiple layers of fabric, leather, foam etc we incorporate into our designs. Many of us are not skilled sewers thus rely on in the hoop projects to get the job done. Be sure your machine can handle it for best results.
- Additionally, consider the machine's stitch quality and speed. Look for an embroidery machine that produces clean, precise stitches and offers adjustable speed settings. This allows you to control the stitching process and achieve professional-looking results. With thicker fabric its often suggested to bring down the speed of your machine, firstly to protect the machine motor and to avoid needle breaks.
- It's also beneficial to explore machines with features specifically designed for bag making, adjustable presser foot pressure, or a walking foot attachment (If you have a combination machine). These features can enhance your bag-making experience and help you achieve better results. The adjustable pressure foot feature is a must have as you can set your machine foot higher for thicker fabrics, so that the hopper foot does not drag the fabric as it moves along.
- Remember to read reviews, compare specifications, and even test machines if possible. This will provide you with firsthand knowledge and insights from other bag makers, helping you make an informed decision that best suits your specific needs and preferences for in-the-hoop bag making.
Now lets look at the hardware needed :
Now you heard names like, Lobster Clasps, Zipper Pulls, Zipped Ends .... But what are they ?
With almost all bags we need zippers, now purchasing zips by size is a option but chances are if you are making a lot of bags, having every size in stock takes up a lot of room. So to save space, purchase zipper tape by the meter of the colors you use most, or choose colors like white, cream, black and grey that can work with any color fabric.

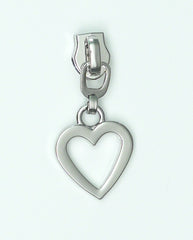
With these zipper tapes we need zipper pulls - this is another reason I like to use these no 5 zipper tape is that I can choose from a huge array of fabric pulls to match my theme and it acts as embellishment too
If this is a bag you would want to attach a keyfob to or handles / strap you will need Lobster clasps, and there are several type available, so shop around for the look you want. You can also purchase them from Amazon, https://amzn.to/44FXeUX

D rings if you want to add pulls to ends of the zips OR also used to add a strap to a purse. Sometimes adding a bit of hardware can take your bag from ordinary to stylish

Other hardware include sliders / buckles / triangles and such, these are all used to either attach two pieces of the purse together, or as embellishment , depending on the look you want


Crimping hardware are hardware where a tool is needed to crimp it to the fabric to keep it in place, these often are placed on the flat of a purse so you can open the purse when used with magnetic clasps or snaps, to avoid you pulling on the edge of the fabric. Some have a ring on for fobs as well


Bag feet is often optional but ads so much elegance to your bag. Several types are available, some like splitting requiring no tool to insert to others where you need a tool like a screwdriver or hammer etc.


Clasps like magnetic clasps or snaps are often used in bag making - these are used for closing the flap if you make a purse style bag, perhaps with a inner zip

Now storing all these little metal supplies and keeping them separate and organized, I would really suggest something with small drawers.

Now that you know the essentials, I bet you can't wait to hop into bag making !
In our next installment we will look into other handy notions in the sewing room that will make live so much easier for you. So stay tuned


5 comments
Marietjie Maré
Ek sal graag by die blog wil aansluit om sakke te maak.
Vriendelike groete
Sue
Great information to make a professional bag.
Anonymous
hi Daleen
where can I buy all these stuff, Habby Lace did not have all of them?
Thanks
Joyce
I’m an information enthusiast so I’m loving these blogs. Thank you.
Loes.
Can’t wait for the next blog. Thank you.