
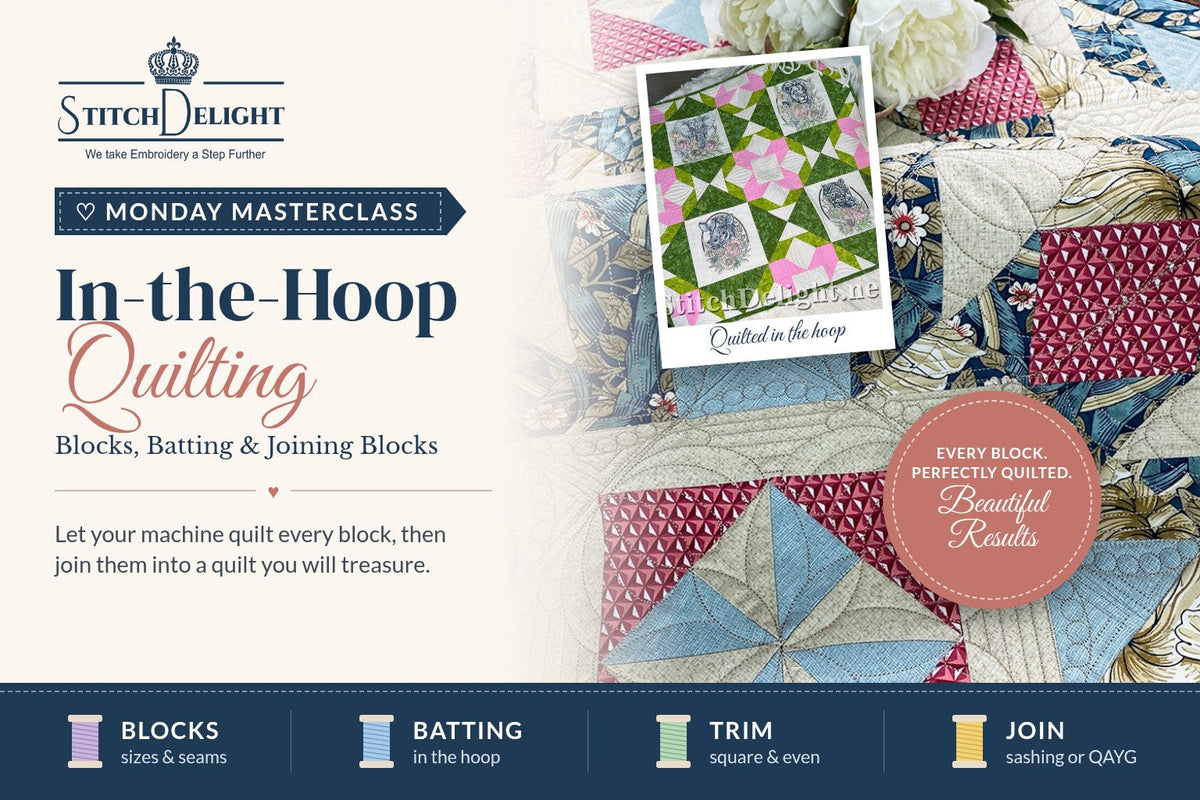
Let Your Embroidery Machine Do the Quilting

ITH Patchwork Quilt by Stitch Delight
If you love quilts but dread wrestling a big quilt sandwich under a sewing machine, in-the-hoop quilting might just change your life.
Instead of quilting the whole quilt at the end, your embroidery machine quilts each block in the hoop, one at a time, with perfect stitch length and perfectly placed motifs. Then you simply join the blocks together.
Quilt blocks are very close to my heart (as many of you know!), so I've been looking forward to this Masterclass. Over the last few weeks we've covered in-the-hoop basics and appliqué. Today we bring it all together.
Difficulty: ⭐⭐⭐☆☆ Intermediate
You'll Learn:
- ✔ How ITH quilt blocks are built, layer by layer
- ✔ The difference between cut size and finished size
- ✔ How to handle batting and stabilizer in the hoop
- ✔ How to trim every block to exactly the same size
- ✔ Three ways to join ITH blocks into a quilt
- ✔ How to keep seams flat and points matching
Two Kinds of ITH Quilt Blocks
Before you start, check which kind of block your design is. It changes how you'll put the quilt together.

Quilted block tops are stitched through stabilizer, batting and the top fabric. You join them like ordinary patchwork, then add the backing and finish the quilt (often with a little extra quilting in the sashing and borders).
Quilt-as-you-go (QAYG) blocks include the backing as well, so each block comes out of the hoop fully quilted, front and back. You join them with sashing strips, and there's no big quilt to quilt at the end.
Some designs can be stitched either way, and the instructions will tell you which stops to use.
Cut Size vs Finished Size
This is where many new ITH quilters get caught out.

- • Finished size is what you see in the quilt once the blocks are joined, for example 6" (15 cm).
- • Cut size is the finished size plus the seam allowance on every side. With a ¼" seam allowance, a 6" block is trimmed to 6½".
Most ITH quilt designs stitch a trimming line, a basting line or corner marks so you know exactly where to cut. Some designs (especially QAYG) use a wider seam allowance, so always check the instructions rather than assuming.
And remember: the size on the label is the finished block, not the size of your hoop. A 6" block might need a 5x7 hoop, a 10" block might need a 260 x 260 mm hoop. My Hooping Masterclass explains how to check that a design fits.
Batting and Stabilizer in the Hoop
In my Structure & Dimension Masterclass we looked at the different types of batting in detail, so today I'll focus on how batting behaves in the hoop.

Friendship Circle Quilt Background by Stitch Delight
- ✔ Low to medium loft is easiest. A thin cotton or 80/20 cotton-poly batting gives crisp quilting and flat seams. High-loft polyester gives more puff, but it's bulkier to join.
- ✔ Float the batting. Hoop only the stabilizer, then lay the batting on top over the placement line. Hooping thick batting stretches and distorts it.
- ✔ Yes, you still need stabilizer. Batting is not a stabilizer. It adds loft, not support. Without stabilizer underneath, dense quilting and embroidery can pull the block out of shape.
- ✔ Tear-away for most blocks. It removes cleanly and keeps the quilt soft. Heavily embroidered blocks may need cut-away support, which will make the quilt a little stiffer. See my stabilizer guide for the details.
- ✔ Keep batting out of the seam allowance where the design allows it. Many designs tack the batting down along the finished line so you can trim it back before adding the top fabric. Less batting in the seams means flatter joins.
💡 Tip: Use the same batting, stabilizer, thread and needle for every block in a quilt. Different combinations quilt up slightly differently, and you'll find your blocks no longer match in size.
Stitching a Typical ITH Quilt Block
Every design is a little different, but a typical block follows these stops:
- Batting placement line on the hooped stabilizer
- Batting tack-down, then trim the batting close to the line
- Top fabric laid over (and sometimes pieced or appliquéd in the hoop)
- Top fabric tack-down
- Quilting and embroidery through all the layers
- For QAYG: backing taped beneath the hoop before the final quilting or basting stop
- Trimming or basting line to show you where to cut
Notice how much this looks like the ITH sequence from two weeks ago? Once you know the rhythm, quilt blocks are just a bigger version of the same idea.
Trimming Blocks Square
Here's a little secret: quilting draws fabric in. Every row of stitches pulls the fabric very slightly, so a block always shrinks a touch while it's being quilted. That's why ITH blocks are stitched oversized and trimmed to size afterwards.
- ✔ Remove the block from the hoop and tear away the stabilizer carefully, supporting the stitches with your thumb.
- ✔ Press the block lightly from the back (no steam on metallic thread!).
- ✔ Use a square quilting ruler and a rotary cutter. Line up the ruler with the trimming line or corner marks, and with the centre of the design.
- ✔ Trim two sides, turn the block, and trim the other two.
- ✔ Measure every block. Blocks that are all exactly the same size are the secret to a flat quilt with matching points.
💡 Tip: Trim all your blocks in one session, with the same ruler. Even two rulers from different brands can differ by a hair, and those hairs add up across a quilt.
Fabric and Thread for Quilt Blocks
Quilt blocks are one of the easiest places to choose fabric, because almost every ITH quilt design is digitized with good-quality quilting cotton in mind.
- ✔ Quilting cotton is stable, presses crisply and holds dense quilting without distorting.
- ✔ Pre-wash or don't, but be consistent. If you pre-wash one fabric, pre-wash them all, so they shrink (or don't) together.
- ✔ Thread: a 40 wt polyester or rayon gives sheen to the quilting motifs, while cotton thread gives a soft, traditional look. Thread Explained covers the differences.
- ✔ Bobbin on QAYG blocks: the bobbin thread forms the quilting on the back of your quilt. Match it to the backing fabric, or use the same thread as the top for a reversible look.
Plan Your Layout First
Before you sew a single seam, lay all your blocks out on the floor, a bed or a design wall.
Step back and look at the balance of colours and motifs. Rotate blocks with directional designs so they all face the right way. When you're happy, take a photo with your phone and number the blocks in rows (a small pin or sticky note on each works well). That photo will save you from a lot of unpicking!

ITH Flower Patchwork by Stitch Delight
Three Ways to Join ITH Blocks
| Method | How it works | Best for |
|---|---|---|
| Traditional seams | Sew blocks right sides together with a ¼" seam, press, then add backing and finish the quilt | Quilted block tops; the most traditional look |
| QAYG with sashing | A front and back sashing strip join each pair of blocks and cover the seam on both sides | QAYG blocks; quilts with a "framed block" look |
| Joining strip on the back | Blocks are sewn together through the front, and a single folded strip covers the seam on the back | QAYG blocks without visible sashing on the front |
Joining QAYG blocks with sashing

This is my favourite way to join QAYG blocks, because both sides of the quilt look finished:
- Place the front sashing strip on the front of the block, right sides together, and the back sashing strip on the back. Sew through everything in one seam.
- Press the front strip open and sew its other edge to the next block, through the front fabric only.
- Turn the quilt over. Fold under the raw edge of the back strip, lay it over the seam and stitch it down by hand, or with a straight or decorative stitch.
Join the blocks into rows first, then join the rows the same way with longer strips.
Keeping Seams Flat and Points Matching
- ✔ Use a ¼" foot (or the seam allowance your design specifies) on your sewing machine, and sew a test seam to check it.
- ✔ A walking foot helps feed thick, quilted blocks evenly so they don't shift.
- ✔ Pin at the seams. Where seams meet, pin exactly through both seam lines before sewing.
- ✔ Press seams open on quilted blocks to spread the bulk.
- ✔ Grade the batting. If batting crept into the seam allowance, trim it back close to the stitching after sewing.
Borders and Binding
Once the blocks are joined, the finishing is the same as any other quilt.
On a quilted block top, add your borders, layer the quilt with backing and batting, and quilt the borders and sashing on your sewing machine (or with ITH border designs).
On a QAYG quilt, borders can be quilted in the hoop as long strips or added with the same sashing method you used for the blocks. Bind the quilt last, exactly as you would a traditionally quilted one.

Vintage Floral Wisteria Quilt by Stitch Delight
Either way, take a moment to square up the whole quilt before binding. Small differences across many blocks show up most at the outer edges.
Troubleshooting Checklist
- • Blocks are different sizes: different batting, stabilizer or tension between blocks, or inconsistent trimming. Measure every block.
- • Block is wavy or not square: the batting or fabric was stretched when laid down, or the stabilizer was too light for the quilting density.
- • Puckers on the back of QAYG blocks: the backing wasn't taped smooth and taut enough. See my puckering Masterclass.
- • Quilting doesn't line up with the block edges: something shifted during stitching. My registration Masterclass will help.
- • Seams are bulky: trim batting out of the seam allowance and press seams open.
- • Points don't meet: check your seam allowance and pin at every intersection.
Three Rules Every ITH Quilter Should Remember
Rule #1 Batting adds loft, stabilizer adds support. An ITH quilt block needs both.
Rule #2 Use the same materials for every block, and trim every block to exactly the same size.
Rule #3 Know whether your design is a quilted block top or a QAYG block before you start, because it decides how you'll join it.
Final Thoughts
In-the-hoop quilting brings together everything we've learnt over the past few weeks: reading the design file, following stops, placing and trimming fabric, and choosing the right batting and stabilizer.
The reward is a quilt that's beautifully and evenly quilted, block by block, without ever having to push a big quilt through a small machine.
Start with a small project like a table runner or a cushion with four blocks. Once you've joined those, a full quilt is just more of the same lovely thing.
Until then... happy stitching!
Designs used in this post
All photos show Stitch Delight designs. Illustrations © Stitch Delight.



1 comment
Susan Knapp
Thank you for the lesson! You explain very clearly and precisely and in the correct order so even beginners are able to understand. I have seen for over 50 years but a medical occurrence caused me to loose all memory and am trying to regain what was lost and is not comfortable feeling in that you have done this hundreds of times why can’t I remember but your instructions are very clear. Thank you. I look forward to your published book so I will have references. Thank you.