
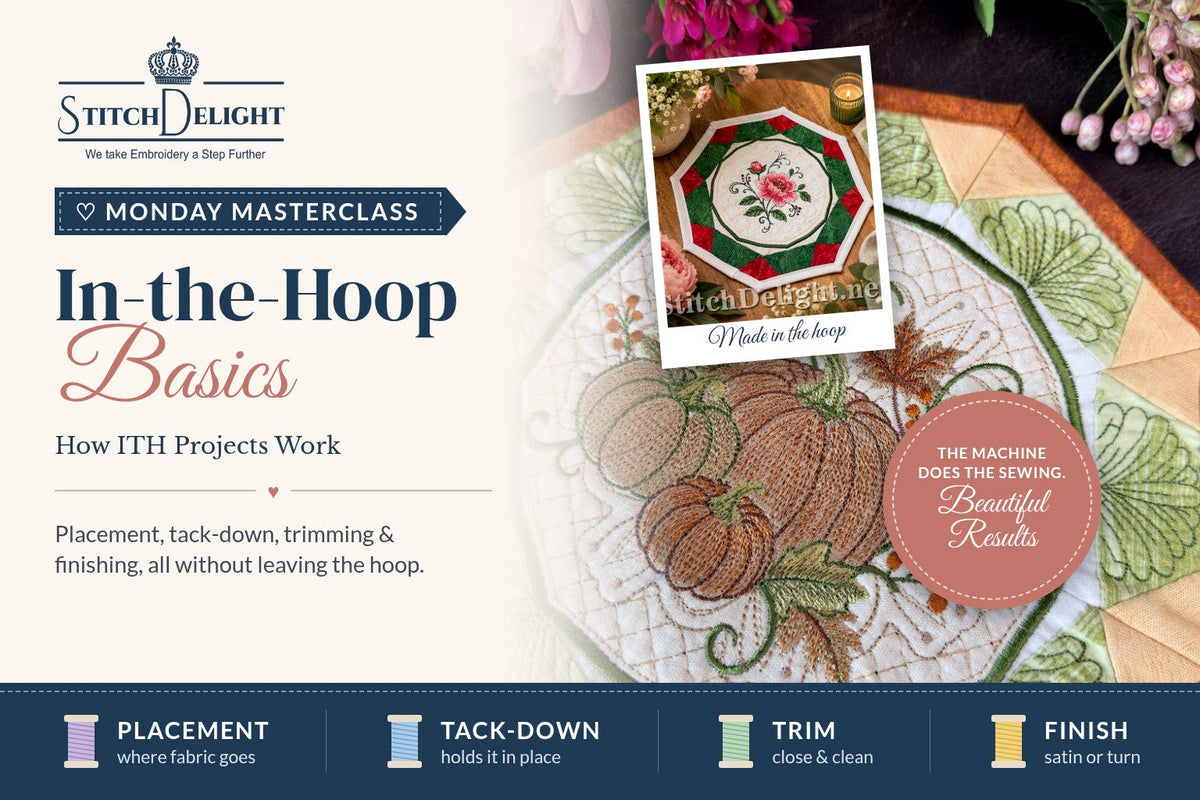
When Your Embroidery Machine Does the Sewing Too

The first time I made an in-the-hoop project, I remember lifting the hoop off the machine, trimming a few threads and holding a finished mug rug in my hand. No sewing machine, no pinning, no wobbly seams. Just the embroidery machine doing what it does best: putting stitches exactly where they need to go.
It felt a little bit like magic. And I've been hooked ever since!
Last week we learnt how to read a design file and colour chart. This week we're putting that knowledge to work, because in-the-hoop (ITH) projects are where the colour chart really becomes your instruction manual.
Difficulty: ⭐⭐☆☆☆ Beginner to Intermediate
You'll Learn:
- ✔ What makes a project "in-the-hoop"
- ✔ The special lines ITH designs use, and what each one means
- ✔ The typical step-by-step sequence of an ITH project
- ✔ The difference between satin-edge and sew-and-turn finishes
- ✔ How to prepare your pieces and add the backing neatly
- ✔ How to avoid the most common ITH mistakes
What Does "In-the-Hoop" Actually Mean?
In regular embroidery, the machine decorates something: a towel, a shirt, a quilt block.
In an ITH project, the machine also builds something. It shows you where to place each piece of fabric, stitches it down, quilts it, adds details and often sews the final seams. You simply follow the stops on the colour chart and add the next layer when the machine asks for it.
Popular ITH projects include:
- • Mug rugs and coasters
- • Zipper pouches and small bags
- • Key fobs, bookmarks and gift tags
- • Ornaments and decorations
- • Quilt blocks (more about these in a few weeks!)
- • Soft toys, pincushions and gift card holders
The beauty of ITH is accuracy. Because the machine stitches every line, each piece is placed exactly where the designer intended, every single time.
Choosing Fabrics for Your First ITH Projects
Almost any fabric can be used in the hoop, but some make life much easier while you're learning.
- ✔ Quilting cotton is the perfect starting point. It's stable, easy to trim, presses beautifully and comes in endless prints.
- ✔ Felt doesn't fray, which makes it wonderful for ornaments, key fobs and small appliqué shapes.
- ✔ Cork, vinyl and canvas give a lovely professional finish to bags and pouches, but they're less forgiving. Save them for when you're comfortable with the basics.
- ✘ Stretchy or slippery fabrics like jersey, satin and minky can move during the tack-down. They're possible, but not for your first project.
Watch out for directional prints, too. It's surprisingly easy to place a fabric upside down when you're working from the back of the hoop, so check which way is "up" before you tape it down.
💡 Tip: ITH projects are the perfect way to use up fabric scraps and fat quarters. Keep a box of offcuts next to your machine just for mug rugs and gift tags.
Learn to Speak "ITH"
ITH designs use a handful of special stitches that aren't decoration at all. They're instructions. Once you recognise them, any ITH design becomes easy to follow.

| Line | What it looks like | What you do |
|---|---|---|
| Placement line | A single running stitch outline | Lay your fabric (or batting) over it, covering the line completely |
| Tack-down | A running, double or zigzag stitch | Nothing yet: it holds the fabric in place. Trim afterwards if instructed |
| Cutting line | A running stitch stitched on fabric or stabilizer | Cut your piece along this line (often used for pre-cut shapes) |
| Satin border | A wide satin stitch around the edge | The final edge on satin-edged projects; it covers the raw edges |
| Turning gap | An opening left in the final seam | Turn the project right side out through it, then close it |
Your colour chart or instructions will name each stop, for example "Stop 3: Front fabric tack-down". Read them all before you start, so nothing surprises you halfway through.
A Typical ITH Project, Stop by Stop
Every designer works a little differently, but most satin-edged ITH projects (like a mug rug) follow a sequence very much like this one:

1. Hoop the stabilizer
In most ITH projects you hoop stabilizer only, nice and taut, and the fabric pieces are added on top. The stabilizer stays in the hoop until the very end, so hoop it well. Your design instructions will usually tell you which stabilizer to use; my stabilizer guide explains the differences.
2. Stitch the placement line
The machine stitches an outline directly onto the stabilizer. This shows you exactly where the first piece goes.
3. Lay your fabric (and batting)
Place your fabric over the placement line, making sure it covers the line with a generous margin all round. If the project is padded, the batting usually goes down first, with the fabric on top.
4. Tack-down
The machine stitches the fabric in place. Now it can't shift during the decorative stitching.
5. Trim
Remove the hoop from the machine (but never the fabric from the hoop!) and trim the excess fabric close to the tack-down line. Then pop the hoop back on.
6. Embroider and quilt
Now the fun part: the decorative embroidery and any quilting lines.
7. Add the backing
Remove the hoop again, turn it over and tape (or lightly spray) the backing fabric to the underside, right side facing out, covering the whole design area.
8. The final border
The machine stitches through all the layers and finishes with a satin border. Remove the project from the hoop, tear or cut away the excess stabilizer, trim any whiskers... and you're done!
💡 Tip: Before the final step, always run your fingers over the back of the hoop to make sure the backing is flat and hasn't folded over at a corner. Once the satin border is stitched, there's no going back.
Two Ways ITH Projects Are Finished
Broadly speaking, ITH projects are finished in one of two ways. Knowing which one your design uses helps you choose fabrics and plan your time.

Satin-edge finish
Everything is completed in the hoop, and a satin border wraps over the raw edges of all the layers. There's no turning and no hand sewing. This is how most mug rugs, coasters, ornaments and gift tags are made.
Sew-and-turn finish
The front and backing are placed right sides together, and the machine stitches a straight seam with a gap left open. You trim the seam allowance, clip the corners, turn the project right side out, press it and close the gap by hand or with a topstitch. The result is a soft, clean edge with no satin, perfect for pouches, cushions and toys.
Preparing Your Pieces
A little preparation makes ITH projects so much easier.
- ✔ Cut pieces generously. I like at least 2 cm (about ¾") extra beyond the placement line on every side. A piece that only just covers the line can slip and leave a gap.
- ✔ Press everything first. Creases don't disappear once they're stitched down.
- ✔ Use the right batting. A thin, low-loft batting is easiest to stitch through and gives a crisp satin edge. My Structure & Dimension Masterclass covers batting and foam options.
- ✔ Lay out pieces in stitching order. Stack them next to the machine in the order the colour chart calls for them.
- ✔ Wind a few bobbins. On satin-edged projects, the bobbin thread shows on the back, so choose a bobbin colour that matches your backing fabric, or use the top thread in the bobbin for the final border.

Tape, Spray or Pins?
You'll need a way to hold pieces in place until the tack-down stitches them.
Tape is my go-to. Low-tack masking tape, painter's tape or embroidery tape holds fabric beautifully. The golden rule: keep it well away from the stitching lines. A needle stitching through tape gums up and the tape is very hard to remove from under the stitches.
Temporary spray adhesive is wonderful for keeping the backing perfectly flat. Spray the fabric, not the hoop, and always spray away from your machine, because the overspray settles on everything.
Pins are best avoided inside the hoop. If the presser foot or needle catches one, you can damage the needle, the hoop or your machine.
Trimming Without Tears
Trimming is the step that makes the biggest difference to the final look.
- ✔ Take the hoop off the machine and lay it flat on the table to trim. Never trim with the hoop attached.
- ✔ Use small, sharp curved or duck-bill (appliqué) scissors. They slide along the stitching without cutting it.
- ✔ Trim close to the tack-down, about 1 to 2 mm away. Too far and fabric whiskers peek out from under the satin. Too close and the fabric can fray out of the stitches.
- ✔ Be careful not to snip the stabilizer underneath. A cut in the stabilizer weakens the whole project.
Next week's Masterclass is all about appliqué, and we'll go much deeper into trimming then.
Bulk, Needles and Speed
ITH projects can build up a surprising number of layers: stabilizer, batting, fabric, backing and sometimes vinyl, cork or a zipper.
- • A slightly larger, sharp needle (such as a 90/14) copes better with thick layers. My needles Masterclass explains why.
- • Slow your machine down for the final satin border through all the layers.
- • Keep the area behind and around the hoop clear, so heavy projects don't drag on the hoop arm.
Troubleshooting Checklist
When an ITH project doesn't turn out quite right, it's usually one of these:
- • Gap or raw edge showing: the fabric didn't fully cover the placement line, or it shifted before the tack-down.
- • Whiskers under the satin border: trim closer to the tack-down line.
- • Backing missed in one corner: it was too small or folded over. Cut it larger and check underneath before the last stop.
- • Tape stitched into the project: keep tape well clear of the stitching path.
- • Stabilizer pulled out of the hoop: it wasn't hooped tightly enough for the weight of the layers. See my hooping guide.
- • Edges don't line up: something moved during stitching. My registration Masterclass helps you find the culprit.
- • Forgot the turning gap: unpick a few stitches in a straight section, turn and close by hand. (We've all done it!)
Three Rules Every ITH Stitcher Should Remember
Rule #1 Read every stop on the colour chart before you start. In ITH, the chart is the pattern.
Rule #2 Take the hoop off the machine to trim and add layers, but never take the project out of the hoop until the very end.
Rule #3 Cut pieces generously and check the back before the final stitch.
Final Thoughts
In-the-hoop projects are one of the most rewarding things you can do with an embroidery machine. They're quick, accurate, and perfect for using up those precious fabric scraps.
Start with something small and satin-edged, like a mug rug or a gift tag. Once you've made one, you'll understand how every ITH design works, and you'll be ready for zippers, quilt blocks and beyond.
Until then... happy stitching!
Photo credits: Embroidery machine at Temporärhaus Neu-Ulm (two photos) by Kritzolina, Wikimedia Commons and Wikimedia Commons, CC BY-SA 4.0. Illustrations © Stitch Delight.