🧵 3 Common Embroidery Challenges (and the Tools That Can Make Them Disappear)
It’s been a while since I last shared a blog post, and I thought it was about time to dive back in with something every embroiderer has faced at least once—or ten times: those little frustrations that sneak into your stitching and make you want to toss the hoop across the room. 😅
Good news: most of these can be fixed with a few smart tools and a touch of planning. Today, I’ll share the three biggest embroidery headaches and what you can do to fix them—without spending a fortune (or feeling like you’re in a “tools trap”). And yes, a few of these tools pair perfectly with our designs here at Stitch Delight.
1. Fabric Puckering: Why Your Design Doesn’t Sit Right
Ever stitched a beautiful design, only to discover your fabric looks like it went through a washing machine? That dreaded puckering is more common than you think.
Why it happens:
- Fabric isn’t properly supported
- Wrong type or insufficient stabilizer
- Tension on your machine is off
How to fix it:
- Start with the right stabilizer: tear-away for stable fabrics, cut-away for stretchy ones, or even layering both for dense designs.
- Ensure your fabric is hooped tightly but not overstretched.
- Double-check your machine’s tension settings, especially if you’re using multiple thread colors or dense designs (like some of our in-the-hoop projects).
We've got a great in-depth guide on which stabilizer to use when, check it our here.
Optional upgrade: A magnetic hoop or high-quality hooping kit can give extra support and consistency, especially on larger or more complex designs. It’s not necessary for every project, but if you stitch frequently, it can save a lot of frustration.
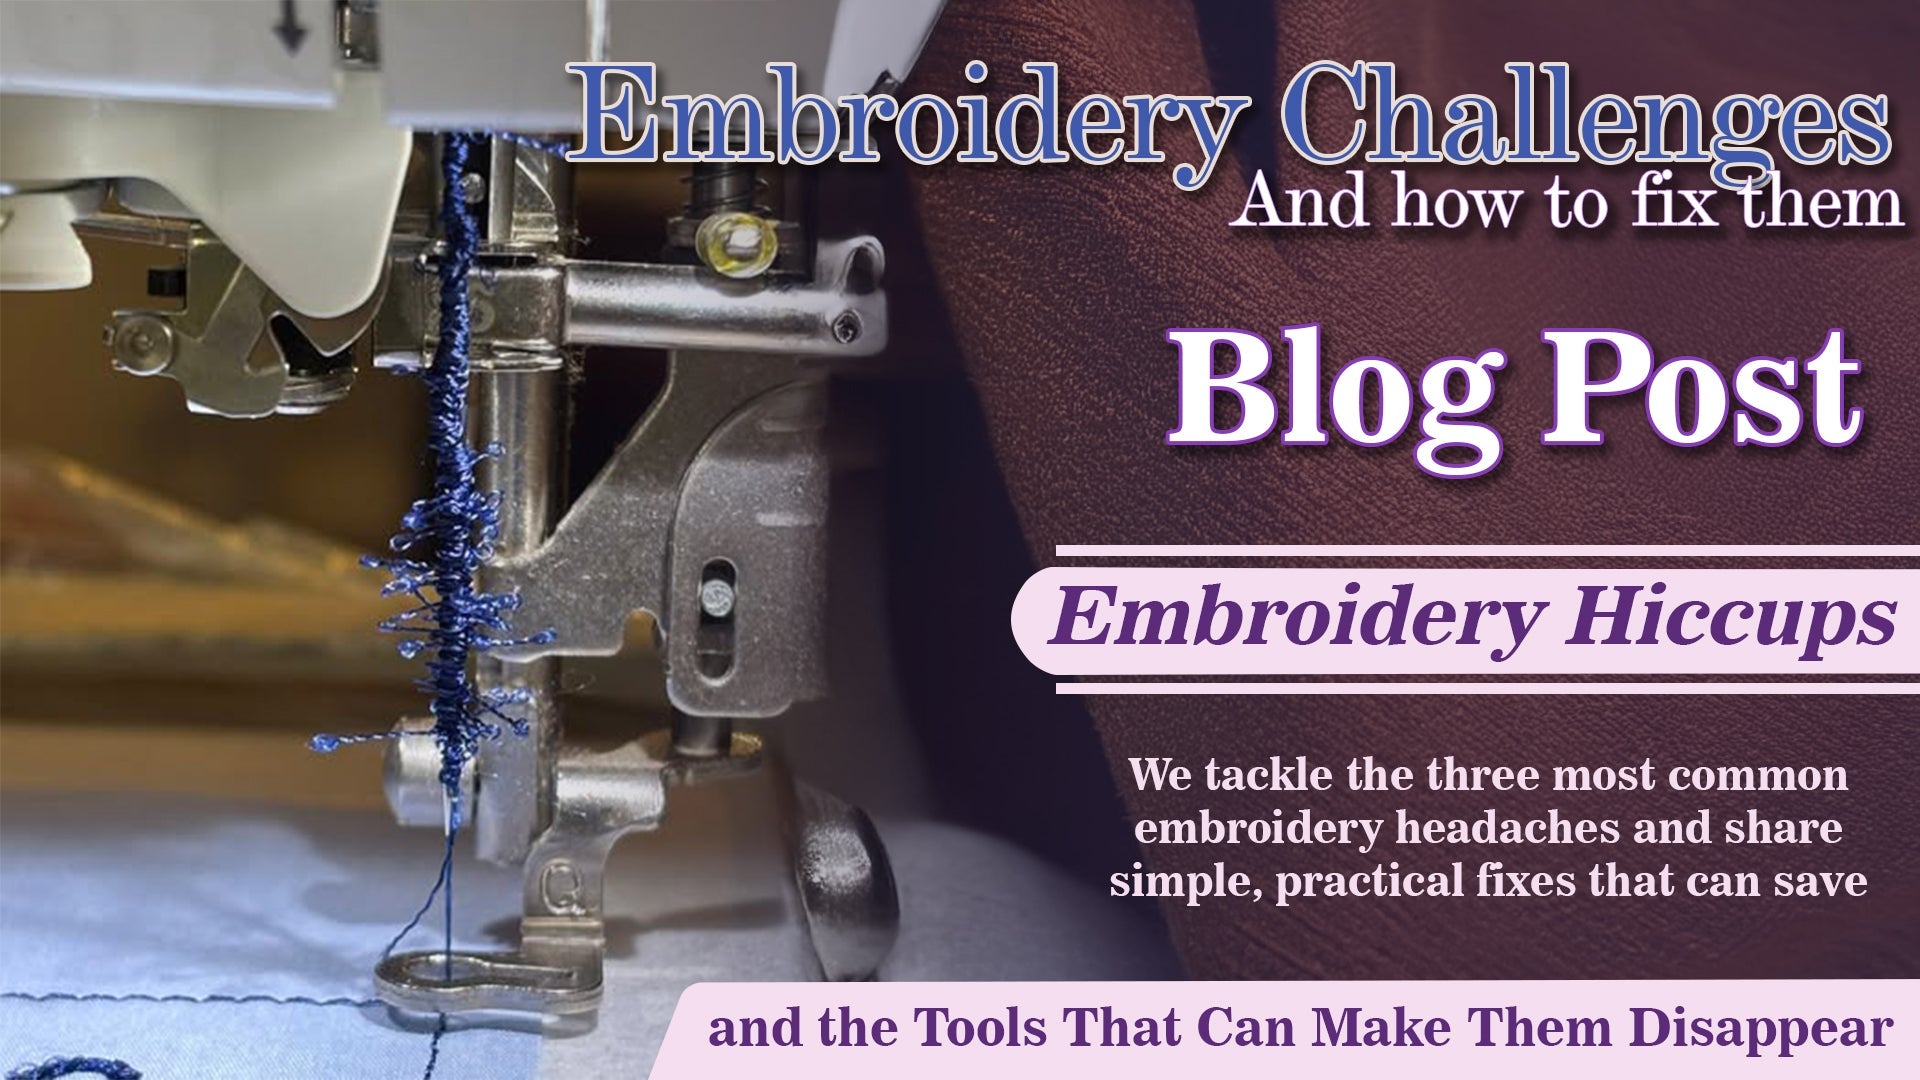
2. Thread Breaks: How to Keep Your Stitching Smooth
Nothing interrupts your flow faster than a thread snapping mid-design. This usually comes down to a few small things that are easy to fix.
Common causes:
- Dull or incorrect needles
- Low-quality or old thread
- Friction points in the machine
Practical fixes:
- Swap in a fresh, high-quality needle before each major project. Even a small pack can save hours of frustration.
- Use good-quality embroidery thread—it’s worth it for dense designs or intricate details. Old thread can become frail and brittle over time. We've got a great post here on how to properly store thread.
- Keep your machine clean, especially around the tension disks, to reduce friction that can snap thread.
- Thread tension is something you need to keep an eye on too, read more about it here
Optional upgrade: A thread management kit (think bobbin organizers or thread nets) can help if you stitch multiple colors or large designs, like our multi-hoop Stitch Delight sets. It keeps everything flowing and minimizes breaks.
3. Misaligned Designs: How to Hit the Bullseye Every Time
Even if your fabric is flat and your thread is perfect, misalignment can still happen—especially with multi-hoop projects or detailed motifs.
Why it happens:
- Fabric shifts in the hoop – Even a slight movement while stitching can throw off placement.
- Hoop size vs. design size mismatch – The design may fit technically, but not leave enough room for precise alignment.
- Multi-hoop registration errors – When designs are stitched in sections, tiny differences in positioning add up.
- Uneven hoop tension – One side tighter than the other can tilt the fabric slightly, causing skewed stitching.
How to fix it:
- Secure the fabric properly: Make sure the fabric is smooth and taut in the hoop. You can lightly press it or use stabilizer underneath to prevent shifting.
- Double-check design vs. hoop size: Use templates (often included with designs) to confirm the placement and fit before stitching. Use a hoop small enough to fit the design. The bigger your hoop the more your fabric can stretch and move causing trouble. Stabilizer becomes essential when using larger hoops, where as smaller hoops are a bit more forgiving.
- Mark placement points: Use water-soluble pens or chalk to mark registration points, especially for multi-hoop projects. We used sharpies to mark out the center of our hoops, this allows us to align the cross hairs of our templates with the hoop to get perfect placement every time ;)
- Even out hoop tension: Check that the fabric is evenly tight on all sides—try not to over stretch your fabric as this can cause a whole new set of hiccups when you un-hoop.
- Use alignment tools when available: Magnetic positioning aids, hoop guides, or a machine projector can take the guesswork out of placement, making multi-hoop projects much easier.
Optional upgrade: Print our included templates on transparencies, today we're lucky enough to get transparencies for both laser and inkjet printers. This way you can see the design on the fabric as you adjust placement. Also makes for a great and quick mockup if you're stitching for customers, simply send them a photo with the printed transparency over the garment before stitching.
💡 Small Changes, Big Difference
Embroidery isn’t about spending a fortune on every tool under the sun. Often, just one or two small tweaks—a better stabilizer, a fresh needle, a simple marking tool—can completely transform your results.
And of course, our Stitch Delight designs are made to be forgiving and fun, but pairing them with the right tools means you’ll enjoy the process even more.
💬 Over to You
What’s the one embroidery problem that drives you crazy?
Comment below—I might turn your most common frustration into my next blog post!


4 comments
Gidion
I’m so glad you all find it useful, I remember back when I just started how frustrating it when the thread keeps breaking and I couldn’t figure out why. It takes quite a bit of research and understanding of how the machines work to really dial in your troubleshooting methods. The blog posts is but one way I like to share my tips and tricks on making embroidery fun and achieving that professional look with every design.
Melinda, metallic thread is a tricky one. Over the years I’ve only had one brand that stitched like a dream, Queen Monrex. Unfortunately we’re unable to get more, not sure if the company closed, but if you can get your hands on Queen Monrex metallic thread then definitely buy one or two. You won’t be dissapointed. I also found changing to a metallic needle helps a lot for breakages and a neater stitch, however the issue with metallic thread lies in the way it’s made and spooled. It tends to ravel up near the spool itself. Lol, at one point I had the Marathon metallic spool in a wine glass with the thread running through a large keyring that spun around the spool in the glass to keep it from raveling up and making loops. Worked like a charm! – You can use thread nets, these do the same and will fit on any machine. See the links in the blog post above ;)
Happy stitching folks!
Susana
OMG. I can’t thank you enough for all these tips. Been there, than that, and pull my hair. Thank you so much.
gladys
bonjour. Mon souci, c’est de penser que le motif est centré sur mon cadre, mais lorsque je retire ce dernier, je m’aperçois qu’il est décalé. Je ne comprends pas pourquoi. Merci pour ce tuto complet sur les défis en broderie machine. Je suis toujours très intéressée par eux, ainsi que vos motifs très beaux.
Cordialement. Gladys
Melinda
Metallic thread breakage