
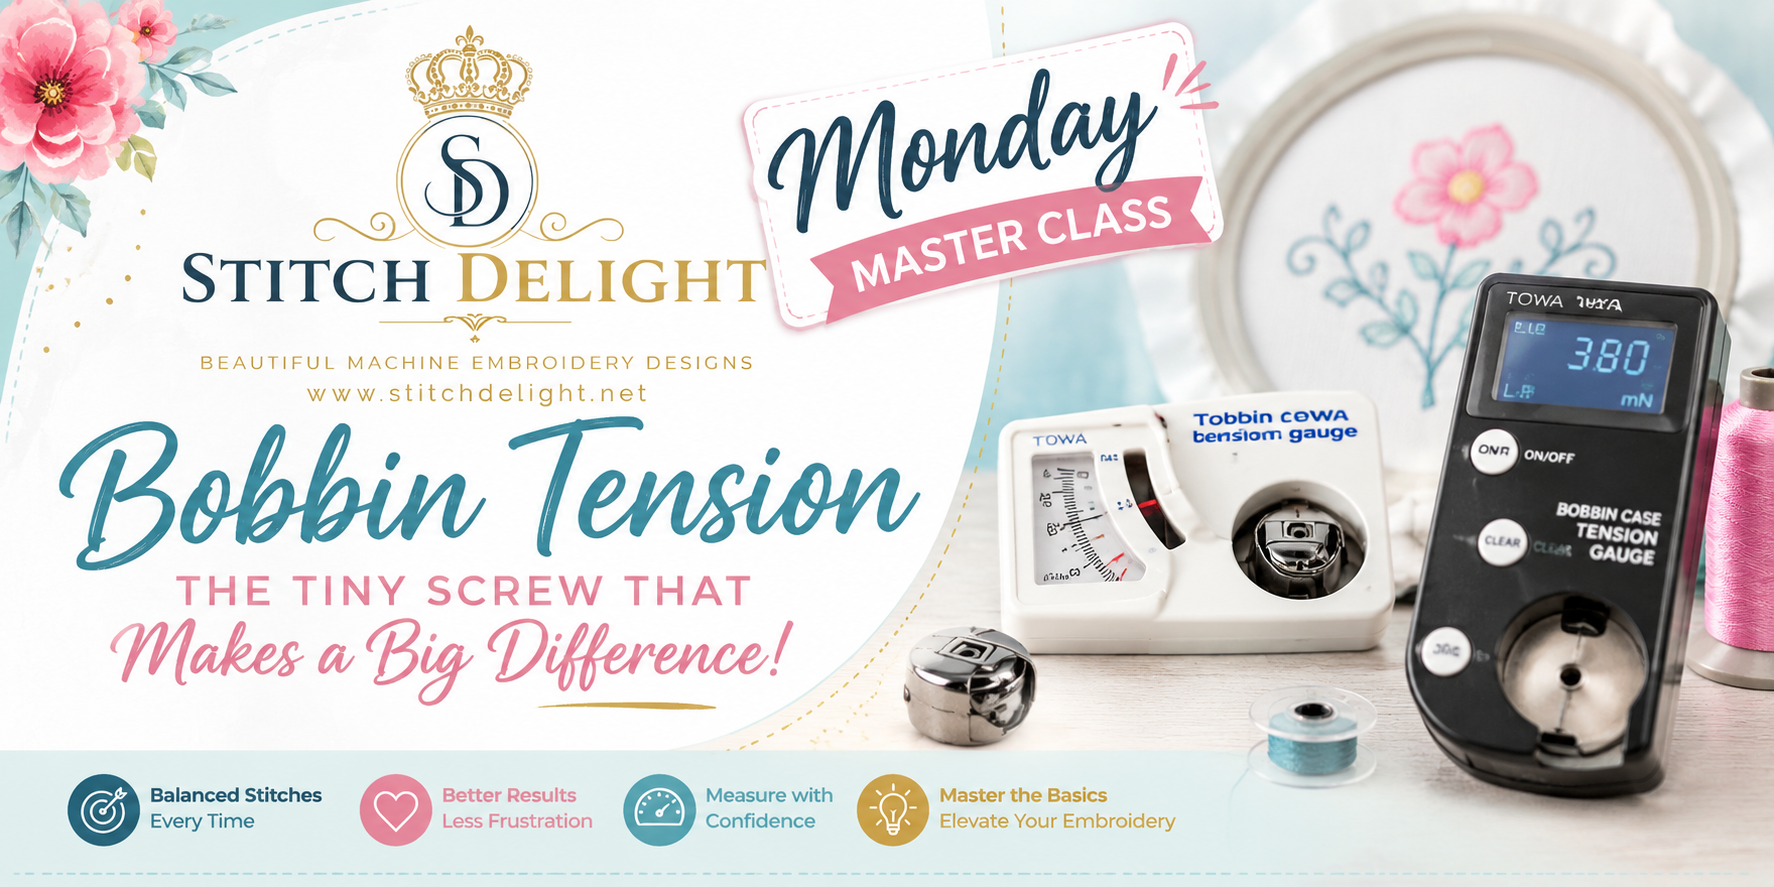
Understanding Bobbin Tension
The Tiny Screw That Causes Big Headaches
Almost every embroidery machine owner has heard someone say:
"Just tighten the bobbin screw."
Or perhaps...
"Loosen the bobbin tension a little."
For many embroiderers, that tiny screw becomes the first thing they reach for whenever something goes wrong.
But should you?
The answer is...
Usually not.
In this week's Masterclass we'll explore what bobbin tension really does, how it works together with your upper thread tension, when it should be adjusted, when it shouldn't, and how to accurately measure it instead of simply guessing.
By the end of this lesson you'll understand why professional embroiderers treat the bobbin tension as the foundation of stitch formation—not the first troubleshooting step.
What Is Bobbin Tension?
Bobbin tension is simply the amount of resistance placed on the bobbin thread as it leaves the bobbin case.
Every embroidery stitch is formed by two threads:
- The upper thread
- The bobbin thread
These two threads meet inside the fabric.
Think of it as a gentle game of tug-of-war.
The upper thread pulls downward.
The bobbin thread pulls upward.
When both threads pull evenly...
The knot forms neatly in the middle of the fabric.
That is exactly what we want.

Why Is Bobbin Tension Important?
Correct bobbin tension helps produce:
- Beautiful embroidery
- Balanced stitches
- Clean satin stitches
- Sharp lettering
- Reduced looping
- Less thread breakage
- Better stitch definition
When the tension becomes unbalanced, the knot forms in the wrong place, affecting both the appearance and strength of your embroidery.
What Does Correct Tension Look Like?
Turn your embroidery over.
You should see mostly bobbin thread.
Only a small amount of the top thread—approximately 25–35%—should be visible on the reverse side, particularly beneath satin stitches.
This is perfectly normal.
You should not see large areas of the top thread on the back, nor should large amounts of bobbin thread be visible on the front.

Signs Your Bobbin Tension May Be Too Tight
A bobbin tension that is too tight may cause:
- Bobbin thread pulling to the top
- Tiny white dots appearing on the embroidery
- Top thread breaking
- Stiff embroidery
- Excessive puckering
- Poor stitch balance
Signs Your Bobbin Tension May Be Too Loose
A bobbin tension that is too loose may cause:
- Loops underneath
- Bird nests
- Loose stitches
- Uneven embroidery
- Poor stitch formation
But Wait...
These Problems Are Usually NOT Caused by Bobbin Tension
This surprises many embroiderers.
In reality, most tension problems originate somewhere else.
Common causes include:
- Incorrect upper tension
- Incorrect threading
- A damaged or blunt needle
- Poor quality thread
- Dirty bobbin area
- Lint beneath the bobbin spring
- Wrong bobbin
- Damaged bobbin
- Incorrect stabilizer
- Poor hooping
Many people adjust the bobbin screw when the real problem has nothing to do with the bobbin tension at all.
The Golden Rule
Professional embroidery technicians follow a very simple principle:
Adjust the upper tension first. Adjust the bobbin tension last.
Your machine was designed so that the upper tension is the normal day-to-day adjustment.
The bobbin tension is the machine's foundation.
Continually changing the foundation simply makes future troubleshooting more difficult.
Should You Adjust the Bobbin Screw?
For the majority of home embroidery machines...
No.
The bobbin case leaves the factory already calibrated.
Unless:
- someone has previously adjusted it,
- the tension spring has been replaced,
- you're using unusual thread,
- or you've measured the tension,
it's generally best left alone.
Clean Before You Adjust
One tiny piece of lint trapped beneath the bobbin spring can completely change the tension.
Before touching the adjustment screw:
✔ Remove the bobbin.
✔ Clean away lint.
✔ Remove trapped thread.
✔ Reinsert the bobbin correctly.
Many "tension problems" disappear after a thorough cleaning.
The Tiny Screw
That tiny screw on your bobbin case is extremely sensitive.
A movement of only a few degrees can noticeably change the tension.
General guideline:
Clockwise → tighter
Counter-clockwise → looser
Never make full turns.
Always make very small adjustments.
Think in minutes on a clock face rather than quarter turns.
Measuring Bobbin Tension
Stop Guessing—Start Measuring
One of the biggest misconceptions in embroidery is that bobbin tension should be adjusted by "feel."
While experienced embroiderers can often estimate tension, the most accurate method is using a Towa Bobbin Tension Gauge.
(Insert photographs of the Towa Analog and Digital Gauges here.)
Whether you use the traditional analog gauge or the newer digital model, both measure exactly the same thing:
The amount of force required to pull the thread from the bobbin case.
Instead of guessing...
You'll know.

Why Use a Towa Gauge?
A Towa gauge allows you to:
✔ Check whether your bobbin tension is consistent.
✔ Compare multiple bobbin cases.
✔ Restore a bobbin case to its previous setting.
✔ Detect lint beneath the tension spring.
✔ Identify damaged bobbin cases.
✔ Eliminate unnecessary guesswork.
Professional embroidery shops rely on these gauges because they provide repeatable, measurable results.
Choosing the Correct Gauge
Before purchasing a Towa gauge, determine which bobbin style your machine uses.
Most home embroidery machines use:
L Style Bobbins
Many commercial embroidery machines use:
M Style Bobbins
The gauge must match your bobbin style.
How to Use a Towa Gauge
- Wind and insert a bobbin.
- Thread the bobbin correctly.
- Place the bobbin case into the gauge.
- Pull the thread slowly and steadily.
- Observe the reading.
Repeat the test several times.
Consistent readings are more important than chasing a particular number.
What Reading Should You Aim For?
There is no universal "perfect number."
Different:
- machines
- thread brands
- bobbin styles
- thread weights
may all produce slightly different readings.
The important goal is consistency.
When your embroidery stitches beautifully, record that reading.
It becomes your machine's baseline for future troubleshooting.
Measuring Upper Thread Tension
Bobbin tension is only half of the equation.
Upper thread tension can also be measured using dedicated tension gauges.
Checking both upper and lower tension gives a complete picture of how your machine is stitching.
We'll include several video demonstrations showing how to accurately measure both.
The Traditional Drop Test
Long before tension gauges became popular, embroiderers used the "Drop Test."
Although it isn't as accurate as a Towa gauge, it's still a useful quick check.
How to Perform the Drop Test
- Insert a wound bobbin.
- Thread the bobbin correctly.
- Hold the bobbin case by the thread.
- Let it hang freely.
A correctly adjusted bobbin case should:
- Remain suspended.
- Slide down slowly with a gentle wrist flick.
- Not fall under its own weight.
If it drops immediately...
The tension is probably too loose.
If it refuses to move...
The tension may be too tight.

Drop Test vs Towa Gauge
| Drop Test | Towa Gauge |
|---|---|
| Quick workshop check | Precision measurement |
| No special tools required | Requires a gauge |
| Based on experience | Provides repeatable readings |
| Good for routine checks | Best for calibration |
Does Thread Weight Change Bobbin Tension?
This is one of the most common questions embroiderers ask.
The answer is...
Usually not.
Changing thread weight does not automatically mean you need to adjust the bobbin tension.
Standard Embroidery
40 wt embroidery thread on top.
60 wt bobbin thread underneath.
This is the setup your machine was designed for.
No bobbin adjustment is normally required.
Fine Embroidery
60 wt top thread.
60 wt bobbin thread.
Perfect for:
- micro lettering
- heirloom embroidery
- delicate lace
Again...
Usually no bobbin adjustment is necessary.
If required, a slight upper tension adjustment is normally all that's needed.
Heavy Bobbin Thread
40 wt top thread.
40 wt bobbin thread.
This is often used for:
- Freestanding lace
- Decorative reverse stitching
- Projects where both sides will be visible
Now you're asking the machine to pull a much thicker bobbin thread.
This is one situation where a dedicated bobbin case with a slightly different tension setting may be beneficial.
Different Brands Behave Differently
A 60 wt thread from one manufacturer may not behave exactly like a 60 wt thread from another.
The diameter, twist, fibre type and surface finish can all influence stitch formation.
This is another reason why recording your own Towa readings is far more useful than copying numbers from the internet.
What About Thick Projects?
Many embroiderers assume thicker projects automatically require bobbin adjustments.
Usually...
They don't.
Thick Projects Include
- In-the-hoop bags
- Zipper pouches
- Stuffies
- Trapunto
- Multiple batting layers
- Soft & Stable
- In-R-Form
- Cork
- Vinyl
- Heavy quilting sandwiches
These projects change how the stitch forms.
They do not automatically mean the bobbin tension is wrong.
What Actually Changes?
As thickness increases:
- The needle travels farther.
- The thread travels farther.
- Friction increases.
- The batting compresses.
- The stitch knot becomes more difficult to pull into the centre of the project.
Many embroiderers mistake this for incorrect bobbin tension.
In reality...
The bobbin tension is often perfectly correct.
Before Adjusting Bobbin Tension...
Ask yourself:
✔ Is my needle large enough?
✔ Am I using the correct embroidery needle?
✔ Is my stabilizer strong enough?
✔ Is the machine stitching too fast?
✔ Is the batting excessively lofty?
✔ Is my upper tension balanced?
Most problems disappear after correcting one of these factors.
Thick Projects Often Need...
Instead of adjusting the bobbin:
- Larger needle (80/12 or 90/14)
- Slower embroidery speed
- Better stabilizer support
- Slight upper tension adjustment
- Reduced project bulk where possible
When Might Bobbin Tension Actually Need Adjusting?
Only occasionally.
Examples include:
- Very heavy bobbin thread
- Dedicated freestanding lace setup
- Multiple layers of trapunto
- Specialty production work
- After replacing the bobbin spring
- When a Towa gauge confirms the tension has changed
A Great Tip
If you frequently embroider specialty projects...
Consider owning two bobbin cases.
One remains at the factory setting for everyday embroidery.
The second can be adjusted specifically for:
- heavy bobbin thread
- specialty threads
- freestanding lace
- unusual production work
Label each bobbin case clearly.
This saves endless frustration.
The Professional Troubleshooting Order
Whenever stitch quality changes, work through this checklist:
- Replace the needle.
- Check the thread quality.
- Rethread the machine completely.
- Clean the bobbin area.
- Check the bobbin and bobbin case.
- Verify the stabilizer.
- Slow the machine if necessary.
- Adjust the upper tension if needed.
- Measure the bobbin tension with a Towa gauge.
- Only then consider a tiny bobbin tension adjustment.

Download your FREE H - Stitch Test File HERE
Simply download and start stitching onto cut away stabilizer and 100% cotton fabric hooped together. There are 12 x H letters to stitch so yo u can test as you adjust. For single needle machines, stitch a H and look at it, then adjust, stitch the second H, adjust until the tension is perfect.



1 comentario
Nancy Kingery
THANKS SO MUCH!!!!!!!!!! I’ve really enjoyed these little Master classes. All it takes is just one small thing being wrong and the stitch out is a mess. I’ve saved everyone of these classes to refer to in the future as needed. Life would be pretty boring without sewing and embroidery. I love your designs and you all are so helpful. Thanks for everything.