
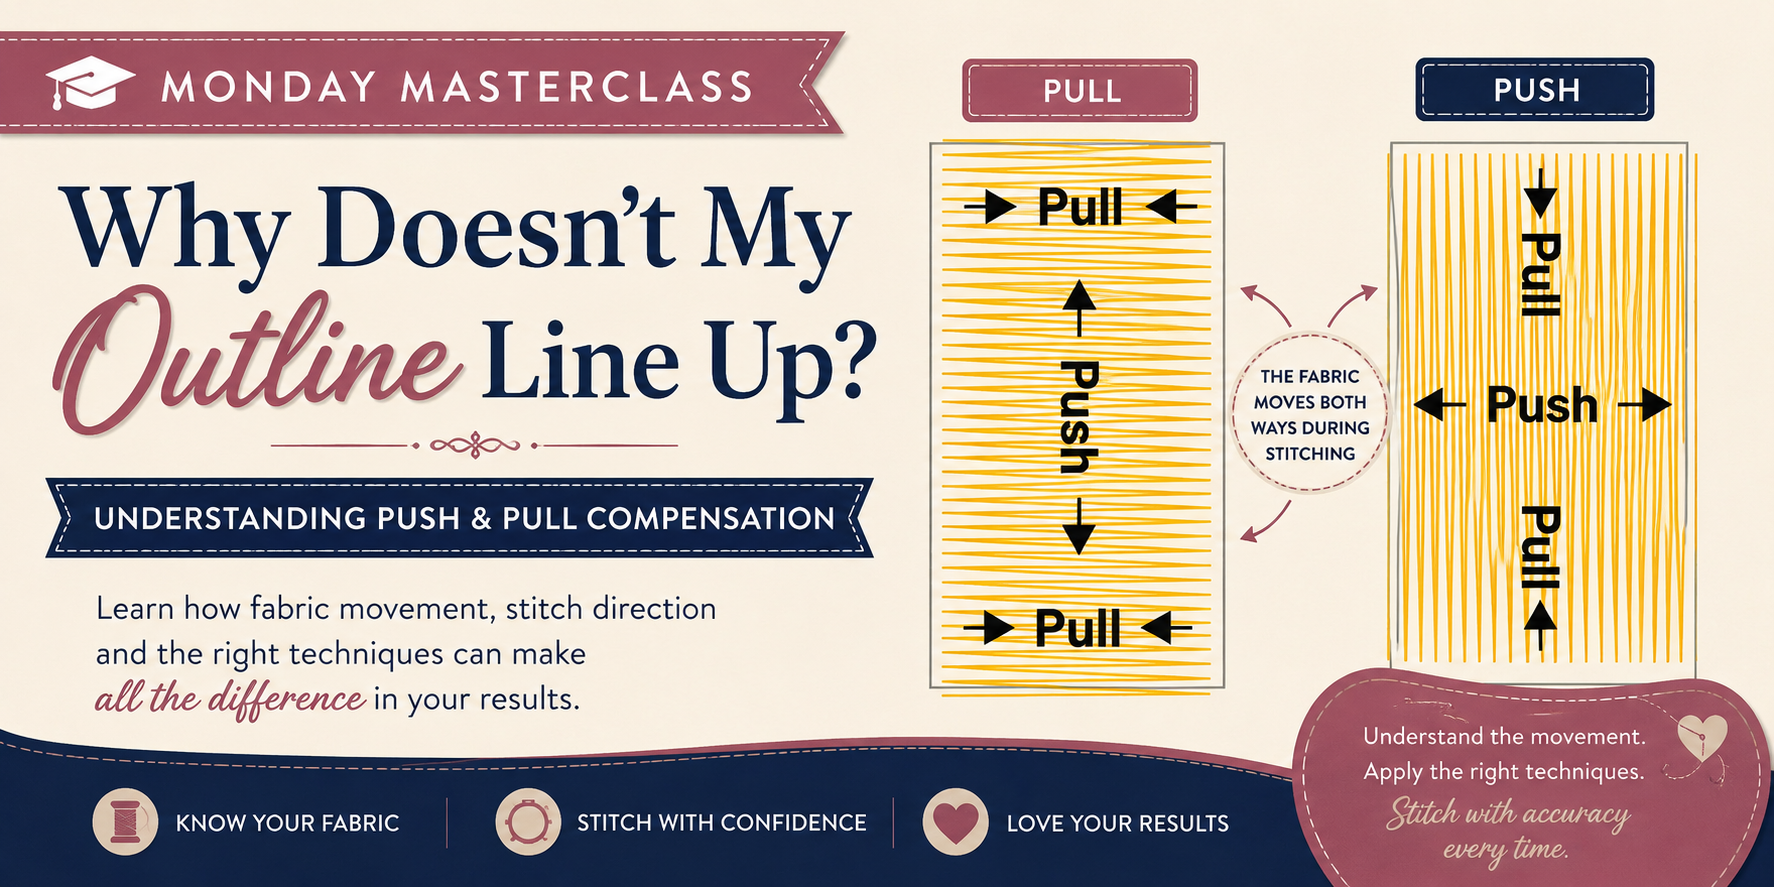
Monday Masterclass
Why Doesn't My Outline Line Up?
Understanding Push & Pull Compensation
Have you ever stitched a beautiful embroidery design only to find that the outline doesn't line up perfectly with the fill stitches? It's one of the most common questions embroiderers ask, and the first reaction is often to assume that the design wasn't digitized correctly.
Sometimes that is true—but very often, the design is stitching exactly as it was created. The real cause is the way fabric behaves while thousands of stitches are being sewn.

Embroidery is not stitched on paper. It is stitched on fabric, and fabric naturally stretches, compresses and moves as stitches are formed. Understanding this movement is one of the biggest steps toward producing professional-looking embroidery.
This movement is known as Push & Pull Compensation.
When embroidery stitches are sewn, they create two natural forces. First, the stitches pull the fabric inward in the direction of the stitches. Satin stitches are a good example of this. As they tighten, they naturally become slightly narrower than they were originally digitized. At the same time, stitches also push outward at their ends. As rows of stitches build up, they compress against one another and can make the embroidery grow ever so slightly in the direction the stitches are travelling.
Although this movement is usually only a fraction of a millimetre, it is enough to make outlines appear slightly out of alignment, especially on detailed embroidery designs.
This is why professional digitizers don't simply trace the original artwork. They actually anticipate how the fabric will behave and intentionally adjust parts of the design before it is ever stitched. Satin columns may be made slightly wider, fills may be made slightly smaller, or outlines may be offset by tiny amounts. On the computer screen these adjustments can look incorrect, but once embroidered, everything falls beautifully into place. This process is called Push & Pull Compensation, and it's one of the most important skills in quality digitizing.
Even the best digitizing, however, cannot compensate for every possible fabric. The exact same embroidery design stitched on quilting cotton, denim, linen, fleece, towels or a stretchy T-shirt will not behave in exactly the same way. Every fabric has its own characteristics, and some move much more than others. This is why one embroiderer may achieve perfect results while another experiences slight outline misalignment using the very same design.

Another factor that surprises many embroiderers is the direction of the fabric grain. Woven fabrics stretch differently along the lengthwise grain, the crosswise grain and the bias (the diagonal direction). The bias usually has the greatest amount of stretch. If a design is hooped on the bias, the fabric is often able to move more freely during stitching, making outlines appear less accurate.
A simple but often overlooked solution is to rotate the fabric before hooping. If you experience consistent alignment issues, try turning your fabric 90 degrees and stitch the design again. Changing the grain direction relative to the stitch direction can sometimes make a remarkable difference, particularly on fabrics with noticeable stretch.
Stretch fabrics deserve special attention because they naturally move more than stable woven fabrics. Even when using the correct stabilizer, knit fabrics and jerseys can stretch differently depending on the direction of the stitches. In these cases, changing the hoop orientation, rotating the fabric, or improving the support beneath the fabric may significantly improve the final result.
If you ever notice that an outline doesn't line up perfectly, don't immediately assume the embroidery file is faulty. Instead, work through a few logical troubleshooting steps. Start by confirming that you're using the correct stabilizer for your fabric type. We covered this in a previous Masterclass because stabilizer forms the foundation of successful embroidery. Read the Stabilizer BLOG Post here
Next, check that the fabric has been hooped securely without stretching it during hooping. Make sure you're using the correct needle for the fabric and that both your upper and bobbin tensions are properly adjusted. If you're working with a fabric that has noticeable stretch, try rotating the fabric and stitch another sample before making any conclusions. Also consider whether your machine produces accurate results on other embroidery designs, as machine settings can sometimes contribute to alignment issues.
We handled correct hooping techniques - read the full BLOG post Here
Only after you've confirmed that your stabilizer, hooping, fabric orientation, needle and machine settings are all correct—and the same problem consistently appears on multiple stitch-outs—should you contact the digitizer for assistance. A good digitizer appreciates constructive feedback and may be able to recommend the most suitable fabric or stabilizer for the design, or even make additional adjustments if necessary.
The most important lesson to remember is that embroidery changes fabric. Fabric rarely remains exactly the same shape after thousands of stitches have been added. Professional digitizers work hard to predict this movement, but the final result will always be influenced by the fabric you choose and the way it is prepared before stitching.
The next time an outline doesn't line up perfectly, pause before blaming the embroidery design. Ask yourself, "What caused the fabric to move?" Very often, the answer lies not in the design itself, but in the natural behaviour of the fabric beneath your needle.
The more you understand Push & Pull Compensation, the easier it becomes to troubleshoot embroidery problems with confidence. Instead of feeling frustrated, you'll be able to identify the real cause, make small adjustments, and achieve beautifully accurate embroidery more consistently.
The Ellie Designs is available HERE



1 comment
Sue Bierly
Excellent information for new and seasoned embroiderers. Plan to share with embroidery club. Thank you.